My wife and I are both fans of bodyweight exercises. I firmly believe that people can get into a very good shape, and one that commands attention, by simply following a month long program, doing nothing but bodyweight exercises.

But then again, resistance training can strengthen the muscles, and induce growth quite faster, and with a much more satisfying result.
The pull up bar connects these two worlds. On the one end, it provides a set of bodyweight exercises, and on the other, strenuous resistance work.
This guide will teach you how to choose the best pull up bar, the nuances between each types of pull up bars, the exercises, progression programs, tools, accessories and much, much more.
We got many e-mails from readers asking us about the best pull up bar, and how to train with one, starting from a couch potato position. This guide has a step-by-step answer.
Types of pull up bars
You might have a pretty good idea of the pull up bar you are going to buy. Though once you step inside of a store, or browse Amazon for less than a minute, confusion kicks in.
There are so many different setups, so many different questions popping up.
So how do you determine what type of an indoor pull up bar you need?
Well… let’s find out.
First of all, have in mind that your home determines most of it for you. You can choose between a wall mounted pull up bar (including a ceiling mounted pull up bar), doorway pull up bar, and a portable pull up bar (also known as an adjustable pull up bar).
You should consider the size of your doorframe, the ceiling, the wall, and then look for convenience, and price compare.
Mounting a doorway pull up bar that doesn’t fit, can result with all types of calamities down the road. The same goes for a ceiling mounted pull up bar, and a wall mounted pull up bar. Make sure that the foundation is solid, or ask your contractor to weigh in with some advice.
We will discuss these later, so let’s first concentrate on convenience and quality.
How to choose the best home pull up bar?
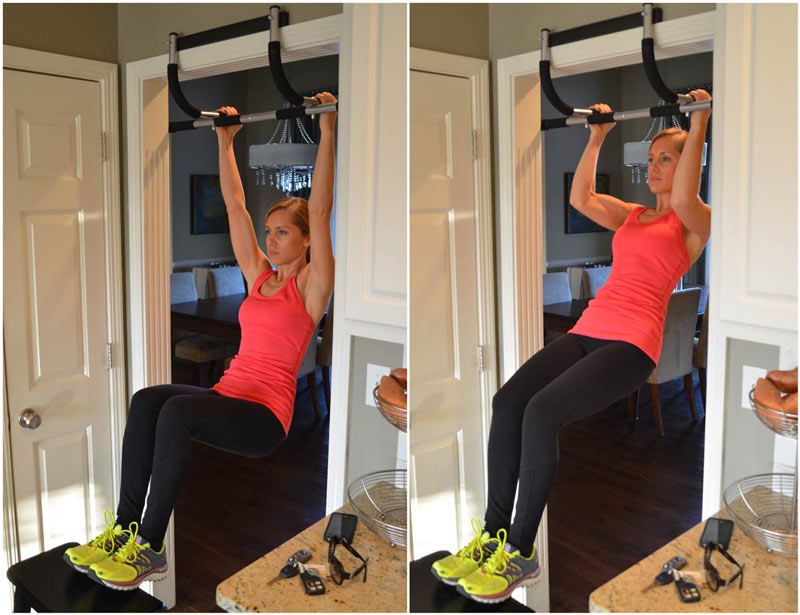
Whether it’s an amazon pull up bar, or a pull up bar for sale down your local store, you should focus on few key criteria.
Safety is your priority, so keep in mind the weight capacity, or how well it mounts on the wall, ceiling, or doorframe.
Then you need to look for comfortable pull up bar grips, and consider the angle as well. Slatted pull up bars are usually more comfortable for people with wrist problems. And most pull up bar reviews will tell you the same. Necessity, it seems, is the mother of invention.
Best pull up bars – 4 types to choose from
What I love about home pull up bars, is that a cheap pull up bar is not that far away from the best pull up bar for home. The simplicity of the setup, allows you to buy a quality piece of equipment at a very affordable price.
So let’s begin with the pros and cons of each type…
Best doorway pull up bars
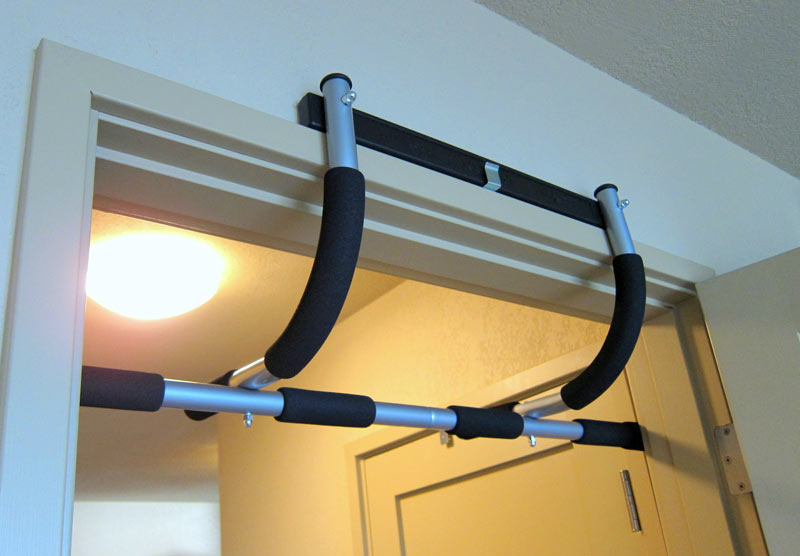
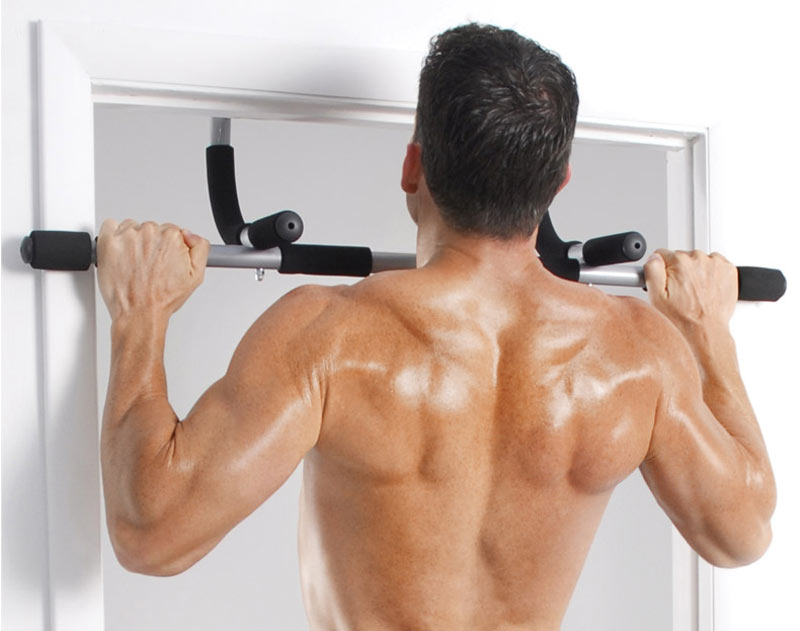
The door frame pull up bar is generally cheapest and easiest to mount. It is somewhat portable, in the sense that you can easily remove it and store elsewhere.
If you are not sure about the quality of your wall and ceiling, the pull up bar for door is an excellent option.
You have the freedom to use your legs as well, though you’d have to bend them at the knee joint for doing regular pull ups.
The con about installing an over the door pull up bar is that you’d have to stabilize each move, and always move with precaution. Though it can represent an advantage too – forcing you to exercise control over your movements.
Most of these can double as a doorway chin up bar as well.
Here is our selection of the best doorway pull up bars from Amazon
Best wall mounted pull up bars (or ceiling mounted pull up bars)
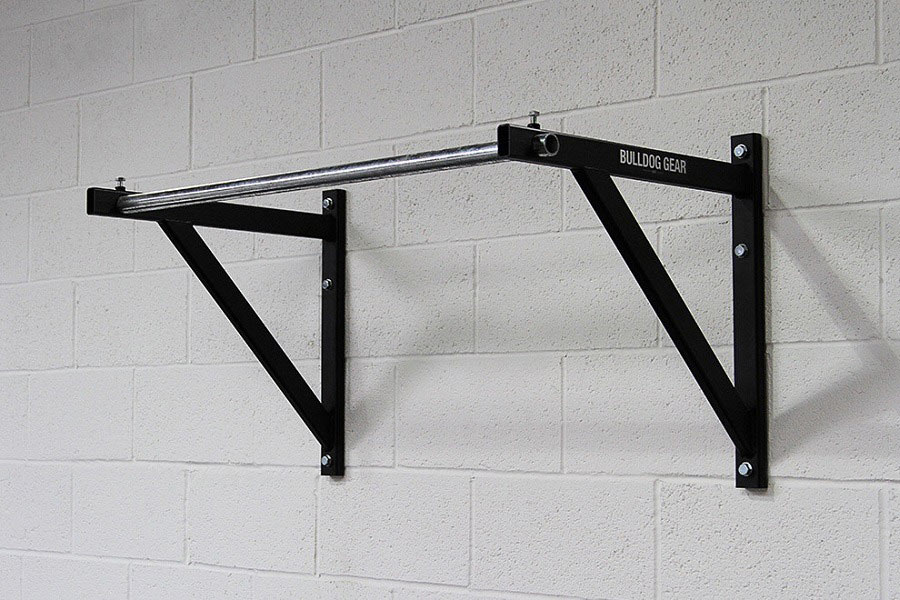
The wall pull up bar, aside from giving stability and extra safety, is great for performing a full range of motion. If the setup allows you to grip the bar with your back facing against the wall, then you can also use your legs freely, and do an L-sit position, or several other exercises I’ll explain below.
The pull up bar wall mount often comes with slated grips. As far as the debate about slated vs. straight grips goes, you don’t have to worry about each of them affecting different muscle groups. They both target the same muscles, only one of them places less stress on the wrists.
The ceiling mounted pull up bar, if attached properly, can endure a lot of force when you swing your body. It gives, by far, the most freedom when working out. You can use your legs for various different complex moves, and you also won’t have to bend them at the knee joint. It is by far the best pull up bar for home variety.
A joist mounted pull up bar would also require of you to jump up in order to start the session, which adds an additional layer of difficulty, and mental barrier when the going gets rough. This is why it is better than the wall mounted chin up bar.
There is no difference between a ceiling mounted pull up bar and a ceiling mounted chin up bar.
Here is our selection of the best wall mounted pull up bars
Best portable pull up bars
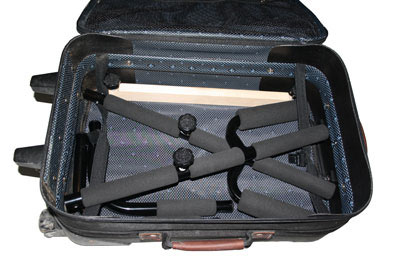
The adjustable pull up bar, which is also sold as a travel pull up bar, and a collapsible pull up bar, spells convenience. It is a folding pull up bar, which extends and presses against the doorframe, having limited weight capacity.
The con about this setup is the fact that you have to have a sturdy and durable doorframe, so it can handle the pressure. Otherwise, it is the most convenient, and often times cheapest option.
The portable chin up bar doesn’t have slated grips, or any extra grips for that matter. Compared to the door gym, it is very simple and minimalist.
Here is the best portable pull up bar collection
Best free standing pull up bar (or outdoor pull up bar stands)
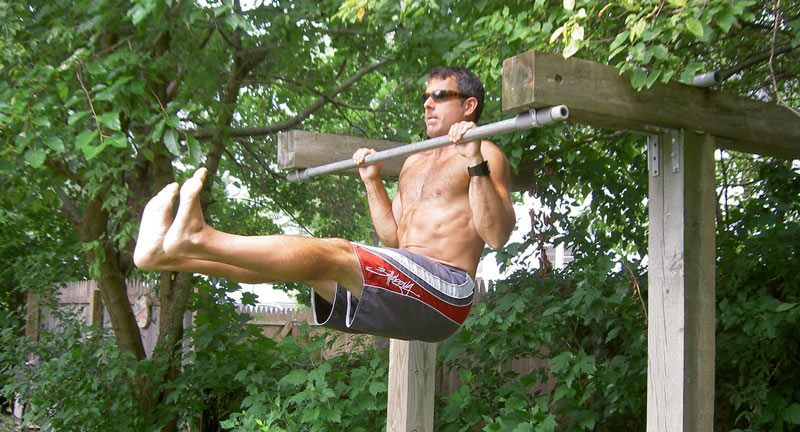
For people who are just starting out, the outdoor pull up bar stand might be unnecessary at first. It is usually more expensive, so you better go with an indoor option instead.
But the pros of an outside pull up bar stand or a free standing pull up bar are numerous indeed.
You can swing more freely, perform additional moves, and progress further.
Here is a list of the best outdoor pull up stations
Pull up vs. Chin up
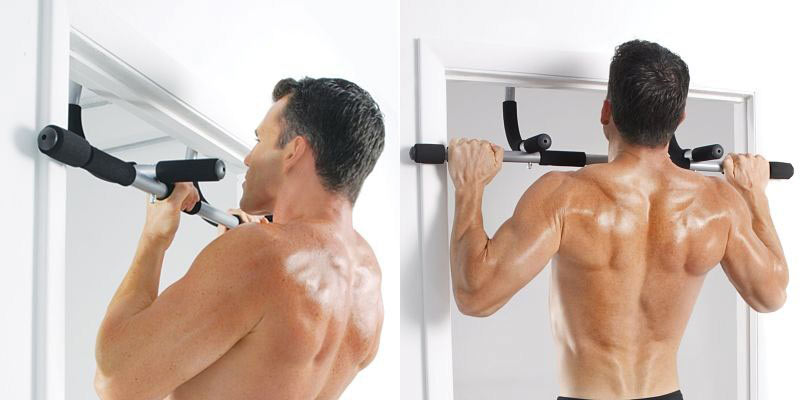
Searching for the best pull up bar for home, you’d often stumble across the chin up bar written in the title of a product. Don’t be confused, these two are the very same. The pull up bar, as a term, is used more frequently than the chin up bar.
The two represent different exercises, performed on the same setup. The only difference is that the chin up cannot be performed on slatted grips.
So what is the difference between these two exercises?
The pull up has an overhand grip, versus the chin up where you have the palms facing you.
The pull up is targeting your laterals more, and the chin up, using the biceps as supporting muscle group, will put more stress there.
Practicing the two within each back training session will give you the best results.
But then you have the hammer grip as well. It is also called the supinated grip, or the neutral grip. There is no significant difference except wrist comfort, and slightly less resistance.
Best pull up bar exercises
The reason people pay lip service to the pull up bar, is because of the garden variety of moves you can perform on it. All of them are isolated, and stabilize the core and back to what amounts to be a very complex move performed simply.
As the king of bodyweight exercises, the pull up bar is a reality check. It will tell you about endurance, control, balance, strength, and muscle density.
Pull up hang
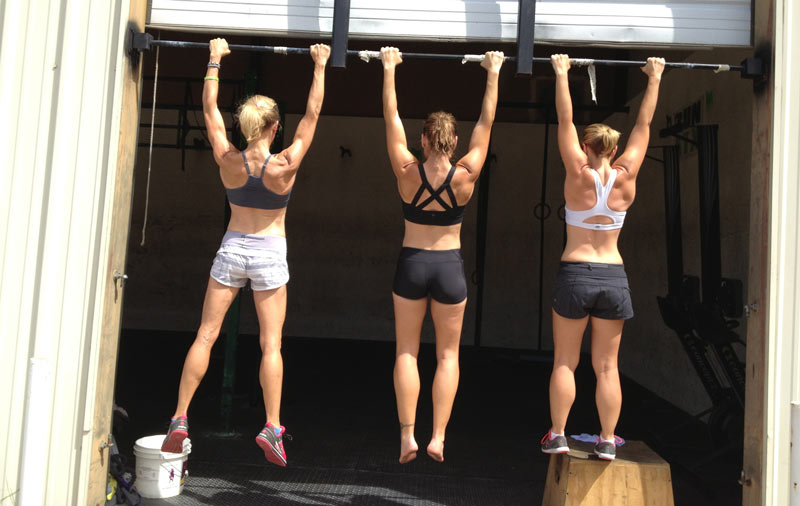
The simplest move you can perform is the pull up hang. It will stretch your back, your shoulders, and your upper chest, preparing you for the motion.
Pull up top hold
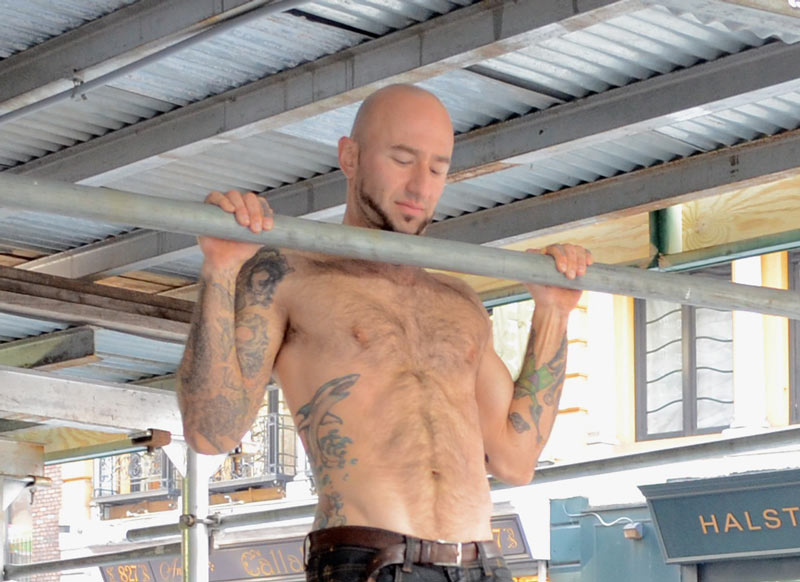
This one serves as a stepping stone to completing a full pull up. You’ll grip the bar, jump up if need be, and hold your body with the chip above the bar. Give yourself few seconds, and then repeat after taking a short break.
Negative pull up
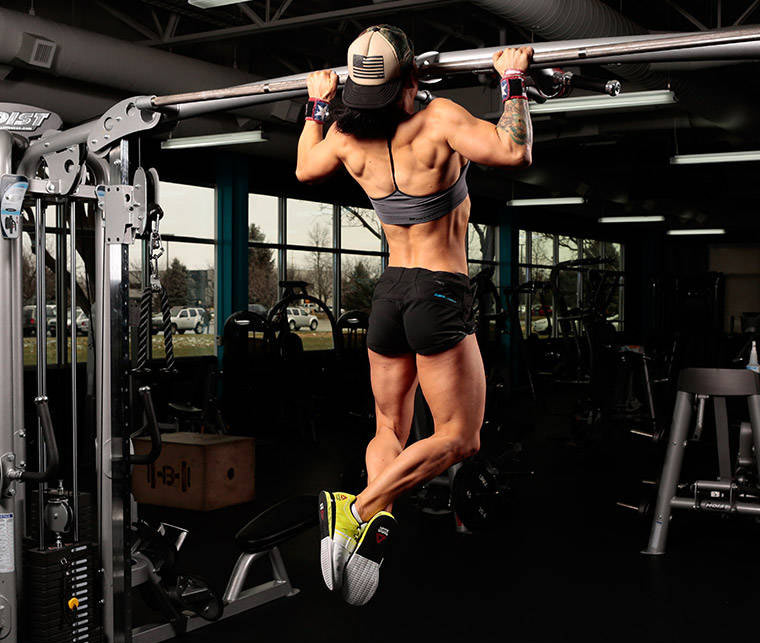
Another one from the set of the learning wheels. It goes like this…
Once you perform the top hold, you’ll descent slowly, counting evenly throughout the motion. It will strengthen and prepare your muscles for performing a regular pull up.
The regular pull up
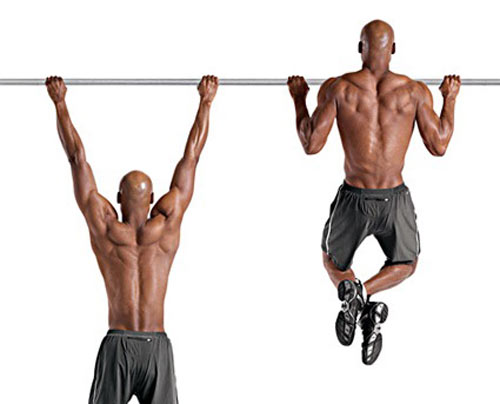
The king-move of bodyweight exercises – do it slowly, without the body rocking back and forth. Start from a hanging position, slowly chin goes over the bar, and then slowly back down, returning to the starting position.
Narrow grip & wide grip pull up
Include both in your workout session once you can perform a regular pull up. Till then, practice, practice, practice…
L-sit pull up
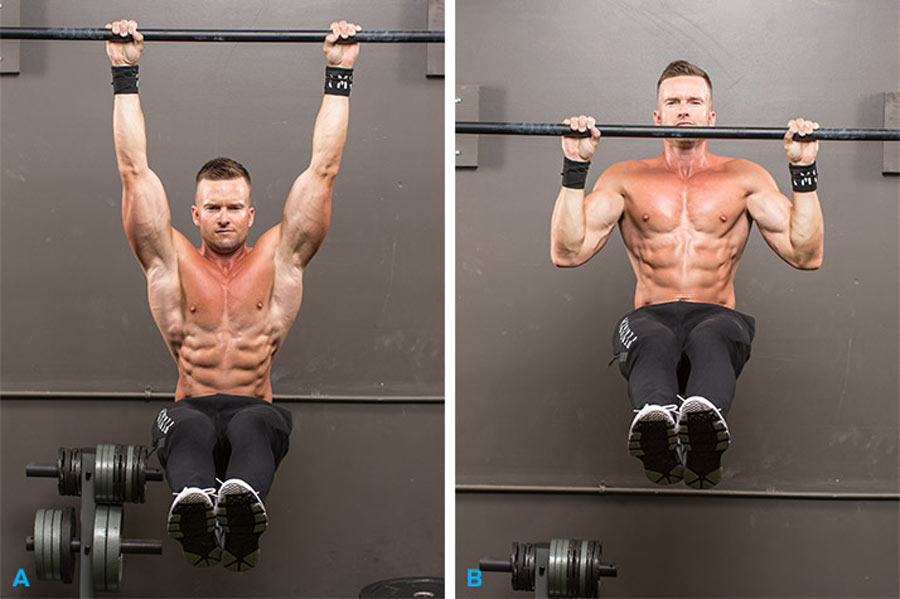
This one is slightly harder, for you’d have to keep the legs locked in the L-sit position, while isolating the pull up move, all the while keeping balance.
It’s a great way of training your back, upper chest, core and thighs simultaneously.
A deep sensory overload of another kind. You’ll see.
*Note that all of these moves can be performed with a pull up bar for door. The ones that follow, would need either a wall mounted, or a ceiling mounted pull up bar.
Rotational pull ups

These are excellent for adding more resistance on each side, as well as working on control. You start from the hanging position, and pull up, guiding your body towards the right side, and then, as you reach the bar with your head, slowly start to transfer your weight towards the middle, arriving at peak height with your chin above the bar.
Form here, you continue towards the left side, and slowly descent towards your left grip, so once the head is there (the nose is same height as the bar), you start to perform the negative movement returning to the center.
*The following exercises will require an outdoor pull up bar
Kipping pull ups
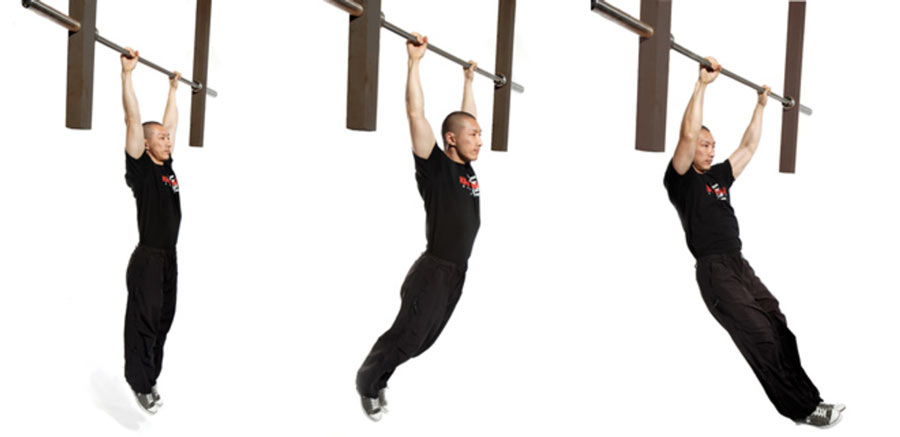
These are often performed in cross fit studios, and are definitely the lousiest way of training the back and shoulders. Great for cardio and endurance stunts, you should start with these staccato sequences only after developing enough strength and stamina, in order to prevent injury.
Pull overs
This is a very hard gymnastics move, where you rotate your body, fully, over the bar.
Muscle ups
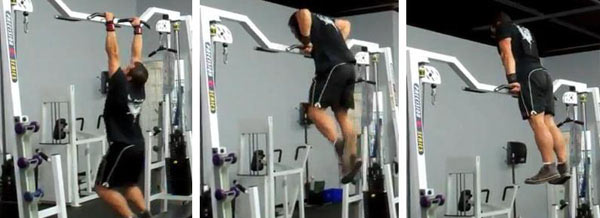
Probably one of the hardest moves on the pull up bar. The muscle up starts with a regular pull up bar, but once you are almost at the top, you start rotating your wrists and continue to push upwards, until your arms are straight and above the bar, and your torso parallel to the bar.
Don’t try this one without first being comfortable with most of the moves described here.
Grip switch pull ups
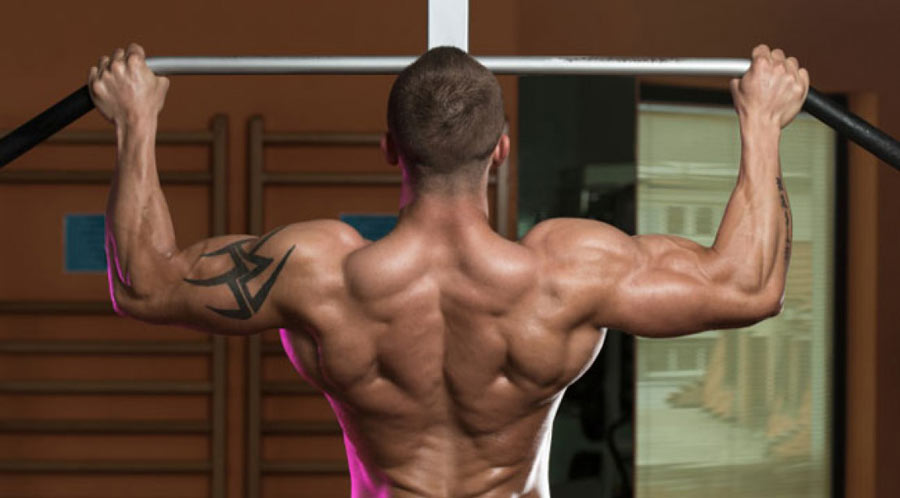
Another cross fit stunt, where you levitate for a second while your grip switches from an overhand to a chin up hold, and then you continue with the negative section of the pull up with the alternate grip.
Once you go up, you again switch the grip.
This move should be performed with a fluid non-stop motion, which almost mimics the kipping pull up, so you give yourself the momentum to switch from one grip to another.
The repetitions pile up at a rapid clip, and you’ll feel exhausted in less than 20 seconds.
The chin up variations (progression)
Same as you did with the pull up, the chin up can also be trained with holding your body up, and then performing the chin up negative (slowly descending down).
Then there is the regular chin up which is equally useful as the pull up. Do both of these within each back training session, and you’ll be happy with the results.
Pull up bar accessories
Regardless whether you are using a garage pull up bar, or a home chin up bar, some accessories might come handy.
There are countless of accessories, but let me name just a few…
- Stamina rotating pull up handles
- Gymnastic grips
- Gymnastic rings
- Assistance bands for support
- Resistance bands with handles
- Weightlifting dip belt
- Weighted vest
- Weights
- Gloves
- Pull up bar grips
The use of these is logical and straightforward, so there is no need to explain each and every one.
The first thing you’ll need when starting out is gloves, and assistance bands. Resistance bands can come handy as well, when learning to isolate the muscles with a lower degree of resistance.
On the other end of the spectrum, when you progress enough, you can use a weighted vest, or a weightlifting dip belt along with weight plates.
Even a single 10 pounds plate would make things exceedingly difficult. Small weights, when you progress enough, are a great way to test your metal. So forget about manufactured emergency, and pace your efforts.
Pull up bar workout program
At first, trying to complete a whole session might seem like an exercise in frustration. It is hard to count reps and sets, when all you can do is a single pull up. Despair not!
Start with the pull up holds, and negative pull ups, and see that you maintain these regardless of whether or not you can complete a whole proper pull up.
Use resistance bands if your setup allows (you have to have a sturdy and securely mounted pull up bar) as well.
Try the chin up too, for it will activate slightly different muscles, which will in turn help you as you progress forward.
At first nothing will look sexy, but sexy never happens. You’d have to work your way through the pain, and witness a symptomatic curve where suddenly, you can do pull ups, and count them in sets and reps.
First week
After the first week of doing mostly pull up and chin up holds, and pull up and chin up negatives – along with resistance bands sets and reps (while sitting on your knees, and with your back flat), and trying few regular pull ups and chin ups, you can progress further…
Second week
The second week can include more regular chin ups and pull ups, along with using the assistance bands (legs flexed at the knee joint, where the assistance band will add the support). Continue with the negative motion and resistance bands work as well.
Third week
During the third week, you can try to complete few sets of pull ups and chin ups, while training until muscle failure, i.e. push as further as you can. Two sessions per week are just about enough. You can also try the narrow grip pull up.
Fourth week
When the fourth week comes, you can complete 4 sets of pull ups (training till failure), and 4 sets of chin ups (same method). Short breaks between sets, and one minute break between the two different exercises – then, another 4 sets of close grip exercises following the same method. If your setup allows, you can also complete few reps of neutral grip pull ups at the end.
As you progress even more, you will be able to count more reps within each set, and then, after hitting 12 on the first rep, you can consider adding a 10 pound plate for extra resistance.
It is crucial to pay the sandman, and rest enough after each session (full 8 hours of sleep), and hydrate the body more. Also, you’d want to up the protein consumption slightly.
Oh, and don’t forget to stretch before and after each workout. Check our own workout program Fitness Updated, where you can learn some very effective stretching exercises that will allow you to push further (there is a free 7 day trial, no credit card, only email sign-up).
Combining the pull up bar with a structured bodyweight program, can transform your body radically and within a single month.
The pull up bar outranks other resistance setups nine ways to Sunday, and offers you more than you bargained for. Series of moves, progression programs, and dramatic improvement of each physical attribute, and all of that fairly quickly, and quite noticeably.
Here is to a strong and fit body!